WIP ThursdayWIP ThursdayWIP ThursdayJuly 27, 2023July 27, 2023July 27, 2023
This post is also available on my Patreon. Join up and get pixel art for your game!
Hey everyone! Yep, you read that right- It’s WIP Thursday.
Personal Update
Sorry to miss WIP Wednesday yesterday so soon after setting a new schedule! The week has been a mess so far- my dog Garnet had a surprise medical issue come up and we’re still trying to figure out what it is. She’s in good spirits today but had several accidents in the house on Tuesday, which is a first. The vet said it might be a “drinking too much water” issue, so we’re managing her water intake and hoping it’s as simple as that. We’re heading back to the vet today for a follow-up and possibly a blood draw. I’ll keep you posted.
UPDATE: The vet thinks she’s experiencing some nausea and we can try normal water levels on Sunday. Garnet’s a very good girl!
Long story short, I’m going to be working hard on the asset pack today and tomorrow, and I’ll see if I can still make my own deadline. If not, then it’ll come out as soon as possible.
Impact FX Pack 1
Today I thought I’d give you a look at the anatomy of an impact effect. I don’t think I’ve done an effect breakdown like this so far, so this’ll be fun!
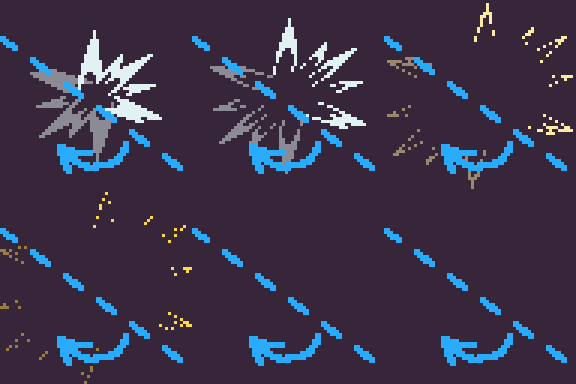
Here’s the finished effect, so you can see what we’re going for.
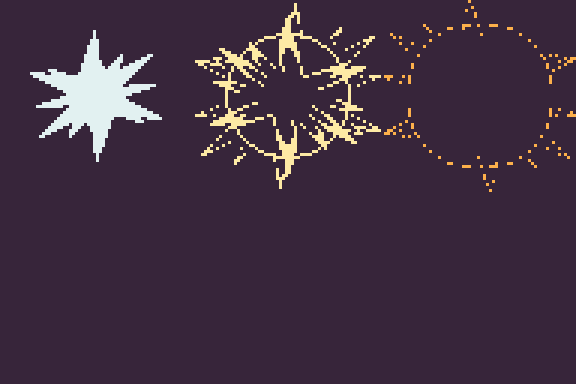
First, I start with some pointy particles. These are the most important part of the impact, because they convey both the motion (dispersed outward in a ring) and the feeling (pointy = painful).
I’ve slowed down these next few animations so you can get a good look at them.
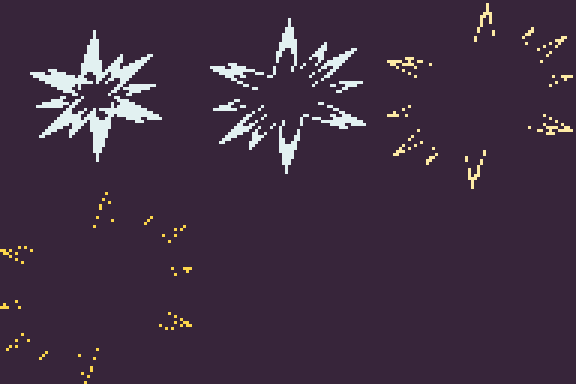
These particles start out full-bodied and then disperse quickly and slow down slightly as they expire. When animating these types of particles, using the onion skin feature helps a lot!
When drawing effects, it’s easy to achieve a balance of symmetry by drawing half of the animation and then flipping it. For example, you draw a half-circle of particles on the left side of the image, then you flip those to the right. This gives effects a more “game-like” appearance, almost like the old days when NES and SNES games used a similar approach.
For a less obvious yet still symmetrically balanced shortcut, animate a semicircle of particles along a different axis.
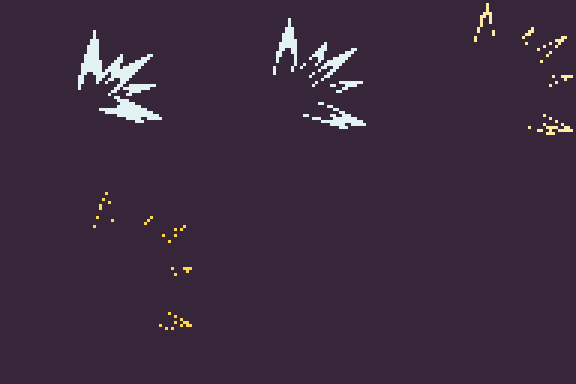
Then, duplicate and rotate them 180 degrees. Looks nice!
The next feature I like to add is a ring. It may look like they’re just circles, but they really come in all shapes and sizes depending on the animation!
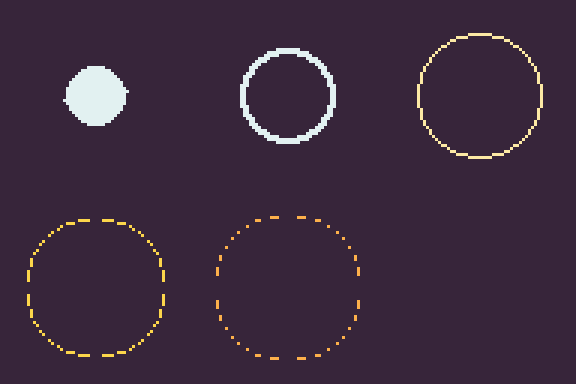
I usually start the ring out a little thicker, then shrink the thickness as the animation progresses until I’m actually erasing parts of the ring. Usually, I give the ring both horizontal and vertical symmetry.
Finally, I juice it up a little by adding a duplicate of the pointy particles. This duplicate is offset a few frames, recolored slightly darker, and flipped either horizontally or vertically. The animation is still nicely balanced!
In this image, I’ve color-coded all of the elements. The first pointy particles are green, the ring is blue, and the flipped frame-offset duplicate of the pointy particles is red.
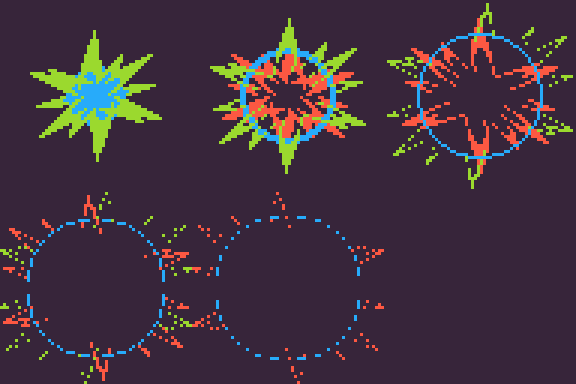
And once again, the finished product! (5 frames @ 15 FPS)

If you find that your impact is kind of slow, don’t be afraid to remove some frames. It’s easy to add too many while doing the particles.
Of course, this is just one way to make impact animations. You can make it your own with more line-like particles, circle particles, or even dust and lightning! The sky’s the limit, and that’s one of the reasons I’m really enjoying drawing effects lately.
Thanks for reading, and I’ll see you soon with the new asset pack!
– Will

